

Hey there! As a supplier of Children Bike Cycle, I've seen all sorts of issues with kids' bikes. One common problem that parents often face is a worn - out or broken bike chain. In this blog, I'll walk you through the process of replacing the chain of a children's bike.

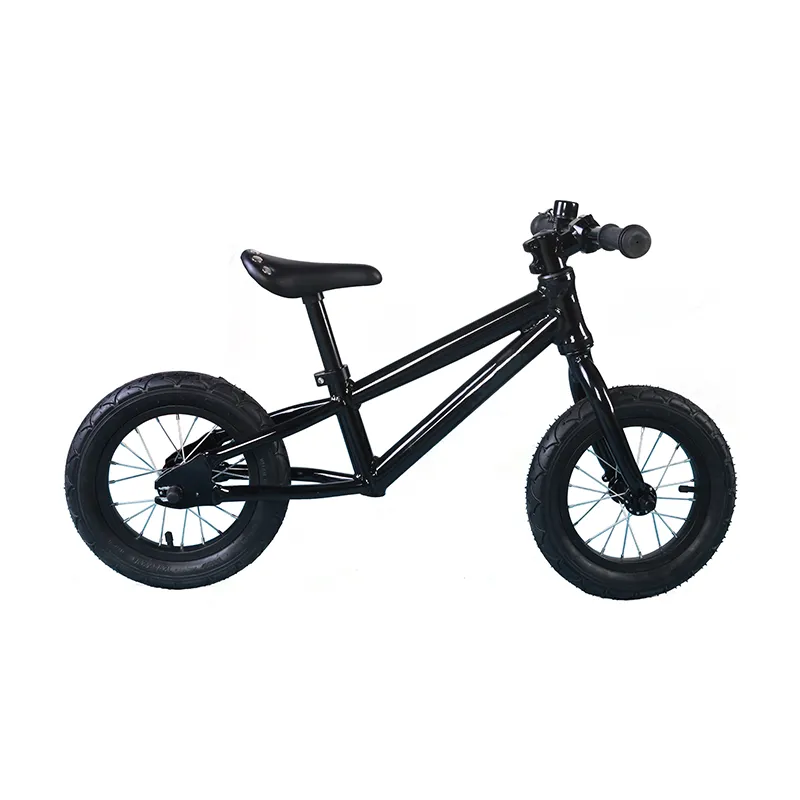
First things first, let's talk about why you might need to replace the chain. Over time, the chain on a kids' bike can stretch, wear out, or even break. A stretched chain can cause the bike to shift gears poorly or even fall off the sprockets. A broken chain, well, that's a no - go for riding. So, when you notice that the chain is looking a bit shabby or not working as it should, it's time for a replacement.
Before we start, you'll need a few tools. You'll need a chain tool, which is specifically designed to break and re - connect bike chains. You can pick one up at your local bike shop or order it online. You'll also need a new chain that's the right size for your child's bike. You can find the right chain by checking the number of speeds on your bike. For example, if it's a single - speed bike, you'll need a single - speed chain. If it's a multi - speed bike, make sure the new chain is compatible with the number of gears. You can check our Children Bike page to find the right chain for your bike model.
Okay, let's get down to business. The first step is to remove the old chain. Start by shifting the bike to the smallest chainring (the front sprocket) and the smallest cog (the rear sprocket). This will make the chain as loose as possible. Then, use the chain tool to push out one of the pins in the chain. Place the chain on the chain tool so that the pin you want to remove lines up with the hole in the tool. Then, turn the handle of the chain tool clockwise until the pin is pushed out far enough that you can separate the chain.
Once the old chain is removed, it's time to measure the new chain. Most new chains come a bit too long, so you'll need to shorten it. To do this, wrap the new chain around the largest chainring and the largest cog, and then add a few extra links. Make sure the chain is long enough to move smoothly through the derailleurs (the gear - changing mechanisms) without being too tight or too loose. You can use a piece of string to measure the length if you don't have the bike assembled.
After you've measured the new chain, use the chain tool to remove the extra links. Line up the pin that you want to remove with the hole in the chain tool and turn the handle clockwise until the pin is pushed out. Be careful not to push the pin all the way out, as you'll need to re - insert it later.
Now it's time to install the new chain. Start by threading the chain through the derailleurs and around the chainrings and cogs. Make sure the chain is properly seated on all the sprockets. Then, use the chain tool to re - connect the chain. Line up the two ends of the chain so that the holes in the links match up. Insert the pin part - way into the hole, and then use the chain tool to push the pin all the way through until it's flush with the side of the link.
Once the chain is installed, give it a test run. Shift through all the gears and make sure the chain moves smoothly. If the chain is too tight or too loose, you may need to adjust the derailleurs. You can find more detailed instructions on adjusting derailleurs on our Early Rider Children's Bike page.
If you're dealing with a multi - speed bike, you might encounter some issues with gear shifting after replacing the chain. This is because the new chain has a different length and shape compared to the old one. You may need to fine - tune the derailleurs to ensure that the chain shifts smoothly between gears. Start by shifting to the smallest chainring and the smallest cog. Then, turn the barrel adjuster on the derailleur until the chain is properly aligned with the sprocket. Do the same for the largest chainring and the largest cog.
It's also a good idea to lubricate the new chain. You can use a bike - specific chain lubricant, which helps to reduce friction and wear. Apply the lubricant to the chain while it's moving, and then wipe off any excess with a clean cloth. This will help the chain last longer and work more efficiently.
Replacing the chain of a children's bike might seem like a daunting task at first, but with the right tools and a bit of patience, it's definitely doable. Whether your child has a Bike 3 5 Years or a more advanced multi - speed bike, following these steps will ensure that the chain is replaced correctly.
If you have any questions or need further assistance with replacing the chain or any other bike - related issues, don't hesitate to reach out. We're here to help you keep your child's bike in top - notch condition. Whether you're a first - time bike - owner or a seasoned pro, we've got the knowledge and products to meet your needs. If you're interested in purchasing new bikes, chains, or any other bike parts, we'd love to have a chat with you. Contact us to start the procurement discussion and let's get your child back on the road with a smoothly - running bike!
References
- "Bicycle Maintenance Handbook" by Park Tool Company
- Various online bike repair forums and blogs


