

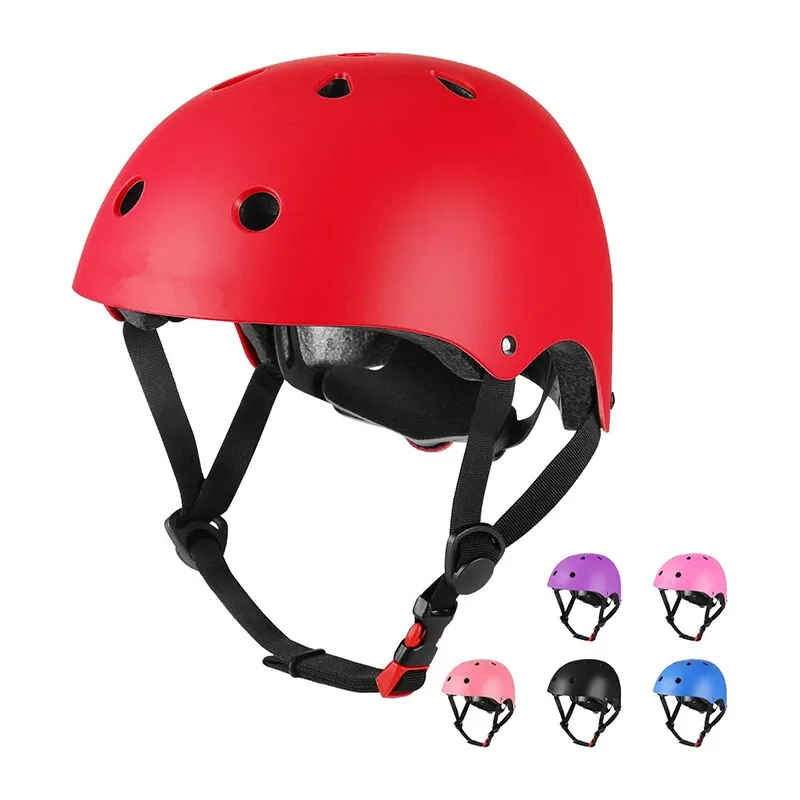
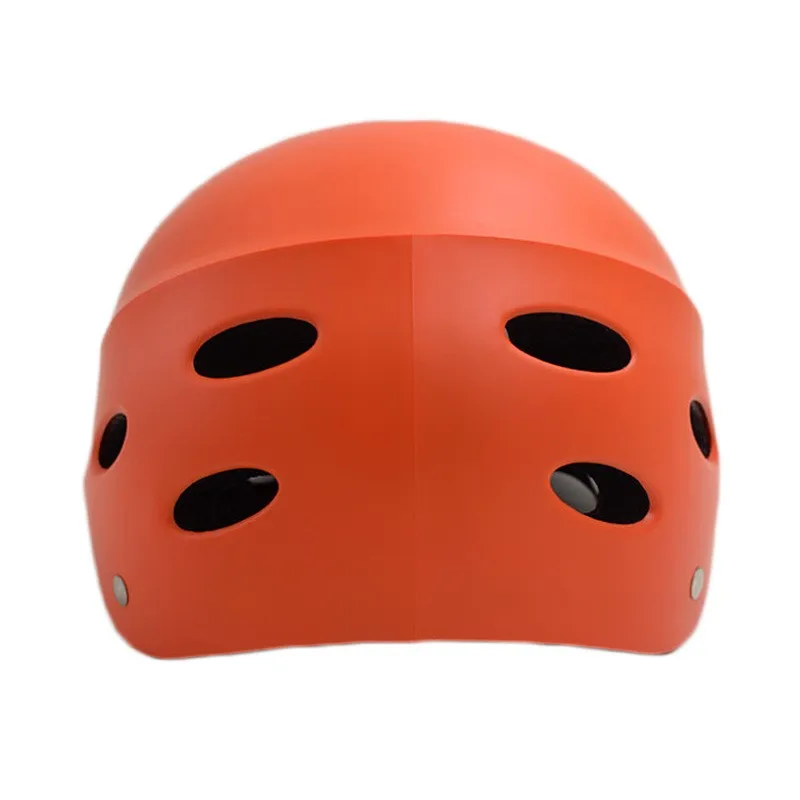
As a dedicated supplier of Kids Dirt Bike Helmets, I often receive inquiries from parents and young riders about customizing their helmets. One popular customization that can enhance both the functionality and style of a kids' dirt bike helmet is installing a visor. In this blog post, I'll guide you through the process of installing a visor on a kids dirt bike helmet, sharing tips and insights based on my experience in the industry.
Why Install a Visor on a Kids Dirt Bike Helmet?
Before we dive into the installation process, let's first understand why adding a visor to a kids dirt bike helmet is a great idea. A visor serves several important functions:
- Sun Protection: It shields the rider's eyes from the sun's glare, reducing eye strain and improving visibility on the trail.
- Debris Deflection: The visor helps to deflect dirt, dust, and small rocks that may be kicked up by the bike's wheels, protecting the rider's face and eyes.
- Style Enhancement: A visor can add a cool and sporty look to the helmet, making it more appealing to young riders.
Choosing the Right Visor
The first step in installing a visor on a kids dirt bike helmet is to choose the right visor for your helmet. Here are some factors to consider:
- Compatibility: Make sure the visor is compatible with your helmet model. Most visors are designed to fit specific helmet brands and models, so check the manufacturer's specifications before making a purchase.
- Size: The visor should be the right size for the helmet. It should not be too large or too small, as this can affect its functionality and appearance.
- Material: Visors are typically made of plastic or fiberglass. Plastic visors are lightweight and affordable, while fiberglass visors are more durable and offer better protection.
- Style: Choose a visor that matches the style of your helmet and the rider's personal preferences. There are many different styles of visors available, including straight visors, curved visors, and visors with unique designs.
Some of our recommended visors for kids dirt bike helmets can be found on our website. You can explore our selection of Kids Bicycle Helmet Bike Helmet, Cycle Kids Helmet, and Adjustable Kids Helmet to find the perfect visor for your needs.
Tools and Materials Needed
Once you have chosen the right visor, you'll need to gather the necessary tools and materials for the installation process. Here's what you'll need:
- Visor: The visor you have chosen for your helmet.
- Screwdriver: A Phillips head screwdriver is typically used to install the visor.
- Allen wrench: Some visors may require an Allen wrench for installation.
- Helmet: The kids dirt bike helmet you want to install the visor on.
- Cleaning supplies: You'll need to clean the helmet and visor before installation to ensure a proper fit.
Step-by-Step Installation Process
Now that you have everything you need, it's time to install the visor on the kids dirt bike helmet. Follow these steps carefully:
Step 1: Prepare the Helmet
- Clean the Helmet: Use a mild soap and water solution to clean the helmet where the visor will be installed. Dry the helmet thoroughly with a clean cloth.
- Locate the Mounting Holes: Most helmets have pre-drilled mounting holes for the visor. Locate these holes on the front of the helmet.
Step 2: Prepare the Visor
- Clean the Visor: Clean the visor with a mild soap and water solution. Dry the visor thoroughly with a clean cloth.
- Align the Visor: Hold the visor up to the helmet and align it with the mounting holes. Make sure the visor is centered and level.
Step 3: Install the Visor
- Insert the Screws: Insert the screws through the mounting holes in the visor and into the helmet. Use the screwdriver to tighten the screws securely, but be careful not to overtighten them, as this can damage the helmet or the visor.
- Check the Fit: Once the visor is installed, check the fit to make sure it is secure and does not wobble. The visor should be able to move slightly up and down, but it should not be loose.
Step 4: Adjust the Visor
- Position the Visor: Adjust the position of the visor to your desired angle. Most visors can be adjusted up or down to provide the best sun protection and visibility.
- Tighten the Screws: Once you have adjusted the visor to the desired position, use the screwdriver to tighten the screws again to secure the visor in place.
Tips and Tricks
Here are some additional tips and tricks to help you install a visor on a kids dirt bike helmet:
- Read the Instructions: Before installing the visor, read the manufacturer's instructions carefully. This will ensure that you install the visor correctly and avoid any mistakes.
- Use the Right Tools: Make sure you use the right tools for the installation process. Using the wrong tools can damage the helmet or the visor.
- Take Your Time: Installing a visor on a kids dirt bike helmet can be a bit tricky, so take your time and be careful. Rushing the installation process can lead to mistakes and a poor fit.
- Test the Visor: Once the visor is installed, test it to make sure it is working properly. Ride the dirt bike around and see how the visor performs. If the visor is loose or does not provide adequate sun protection, adjust it as needed.
Conclusion
Installing a visor on a kids dirt bike helmet is a simple and effective way to enhance the functionality and style of the helmet. By following the steps outlined in this blog post and using the right tools and materials, you can install a visor on your kids dirt bike helmet in no time.
If you have any questions or need further assistance with installing a visor on a kids dirt bike helmet, or if you are interested in purchasing a kids dirt bike helmet or visor from our company, please don't hesitate to contact us. We are always happy to help and look forward to the opportunity to discuss your procurement needs.
References
- Helmet safety guidelines from relevant safety organizations.
- Manufacturer's instructions for the visor and helmet models.


